
Concrete Preparation for Epoxy Flooring

The Short Answer
Slab preparation comes down to three jobs. Profiling roughens the concrete mechanically so the coating has texture to bite into. Repair work fills cracks, chips and voids so weak areas are dealt with before coating. Moisture testing turns guesswork about the slab into readings your installer can act on. The amount of effort each job needs varies from floor to floor and is set by an in-person look at the concrete.
The Three Essential Steps
01
Cleaning & Grinding
02
Crack & Surface Repairs
03
Moisture Testing & Inspection
How Does Grinding Improve Adhesion?
Floor coatings hold on mechanically. They need a slightly rough, porous surface to flow into and lock onto. Concrete that is smooth, sealed or polished may look clean and ready, yet it gives a coating very little to anchor to.
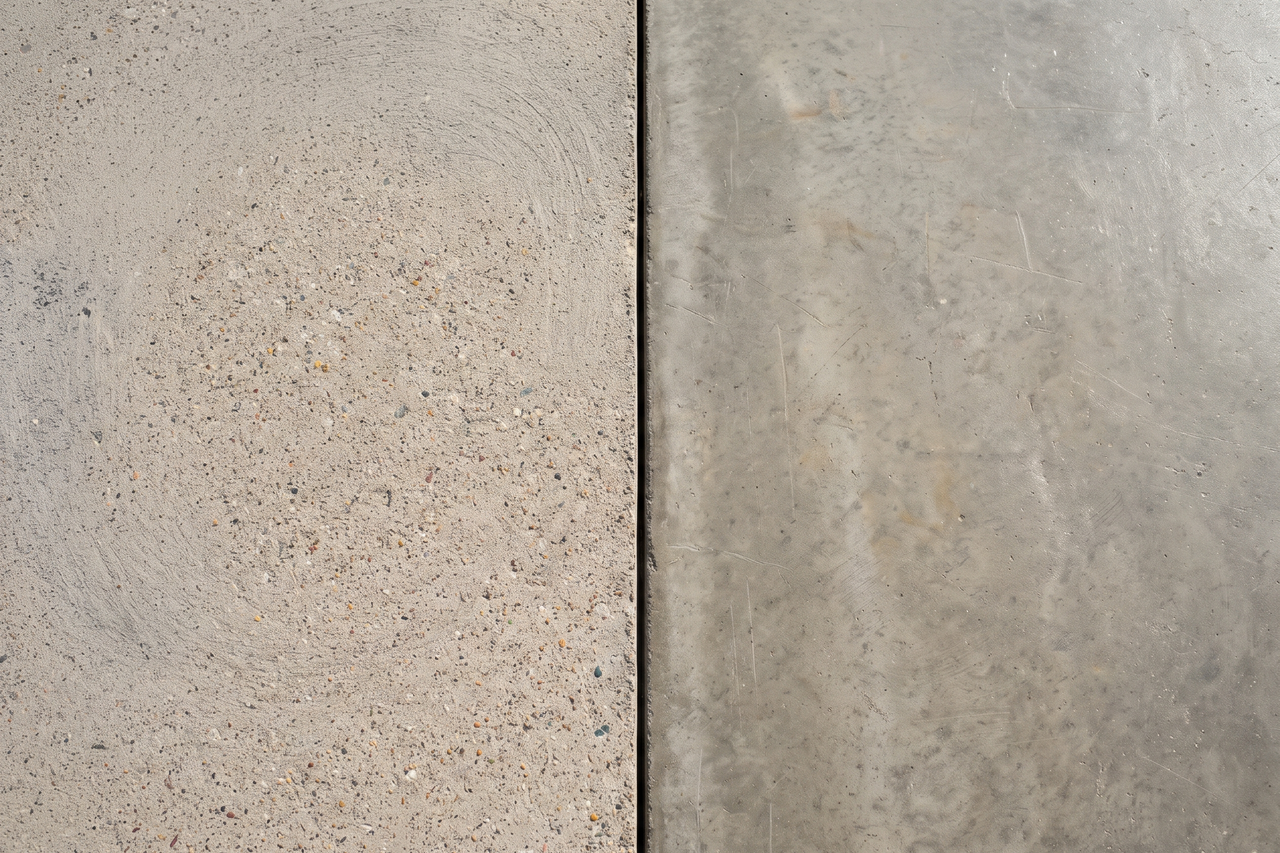
Professional preparation usually relies on one of two methods. Diamond grinding sweeps abrasive tooling across the floor, removing the weak surface skin and exposing the harder stone below for a toothy finish. Shot blasting strikes the slab with steel media to reach a comparable texture through impact. Both leave concrete the coating can grab, and the better fit for any given floor comes down to the slab itself and the requirements of the product.
The right profile depth is not one number for every floor. It shifts with the coating system and the state of the concrete, and your installer settles on it after examining the slab and before preparation begins.
Should Cracks Be Repaired First?
Yes, and the reasoning is straightforward. A coating laid over an open crack attaches at both edges but has nothing underneath across the opening. Weight from traffic and movement from temperature changes gather at that gap, and over time the crack can reappear as a line in the finished surface.
How a crack gets repaired depends on why it formed. A hairline crack that has stopped moving is a normal part of preparation. A crack that is still shifting, cuts deep into the slab or tracks with heavy loads or settling is another story, and the reason behind the movement should be understood before anyone picks a filler.
Our repair guide for coated floors walks through how typical crack patterns are assessed and which approaches suit each one.
Why Is Moisture Testing Important?
The ground beneath every slab carries moisture. It travels upward through the concrete as vapor, and once a coating seals the top, it has nowhere to go. Pressure then builds at the bond line and pushes upward on the coating, which can show as blisters, bubbles or patches that let go of the floor.
Testing before products are chosen puts real numbers behind those choices. Not every coating tolerates high vapor levels equally well, and if the readings run high, adding a moisture-mitigating primer below the main system may be sensible, a decision supported by measurement instead of hunches.
Skipping the test leaves product selection resting on assumptions. If those assumptions miss, moisture becomes one of the usual suspects behind premature failure, along with preparation, coating selection and installation conditions.
Can Epoxy Go Over Painted or Previously Coated Concrete?
Coating over an earlier finish starts with three questions: what the old material is, how firmly it still clings to the concrete and whether the new product will bond with it.
An existing finish that is lifting at the edges, bubbling or easy to scrape away cannot serve as a reliable base. Anything applied over it takes on the same weak bond.
Where the old layer is firmly attached and testing shows the two products work together, a new coating over it may be an option. Sorting out exactly what is on the slab is one of the reasons a preparation assessment happens.
How Should You Prepare Your Garage Before the Contractor Arrives?
Grinding, patching and moisture checks belong to the flooring professional. Your part is simpler: clear the room and share what you know about the floor’s history.
Garage prep checklist:
- Take out cars, storage bins, tools and anything else resting on the slab so every corner is accessible.
- Mention any signs of dampness you have noticed, like standing water after heavy rain, white powdery residue or areas that seem soft or crumbly. Those observations help guide the evaluation.
- If the concrete was painted or sealed at some point, share what you remember about it, even if you only know part of the story.
- Before the project starts, ask how the steps will be ordered and how the plan handles getting the garage back into everyday use.
To follow the whole coating sequence from bare slab to finished surface, read our overview of how an epoxy floor is installed.